Dust Front RTS Guide
Start here for Dust Front RTS demo help: deployment priorities, faction response, economy basics, walkthrough videos, and links to focused guide pages.
Dust Front RTS rewards players who build a repeatable opening instead of reacting to every alarm. The first site version focuses on the questions that came up in the research pack: deployment zones, factions, demo walkthroughs, beginner tips, economy, and control issues.
The game is still in a demo/release-window phase, so facts should stay source-backed and conservative. Use the Steam, SteamDB, Steam Community, and video links before turning any tactical note into a permanent wiki claim.
Step-by-step guide
- Start with a connected deployment
Pick a starting zone that lets production, storage, repairs, and early defenses support each other. A flashy forward start is not useful if the base cannot replace losses.
- Stabilize economy before overextending
Watch power, warehouses, production pacing, and repair access. Most RTS losses compound when the economy cannot support the frontline.
- Scout faction pressure early
Treat Bandit-style pressure and Mutant-style pressure as different problems. Adjust screens, defenses, and unit flow after you know what is attacking.
- Use one clear attack plan
Keep the first demo walkthrough simple: defend, produce, scout, push, repair, then repeat. Do not split attention across too many fronts until the economy is stable.
- Run the first 10 minutes as a route, not a reaction test
Use a repeatable opening loop: place a connected base, stabilize power and storage, start replacement production, scout the likely pressure lane, then prepare one controlled push. Recent hard-mode and max-difficulty videos show that the run usually breaks when players skip one of those checks.
- Classify the run killer before restarting
After a failed attempt, write down the primary cause: economy collapse, blind engagement, unsupported push, repair gap, or enemy production left unchecked. Fixing one category is more useful than changing the whole plan after every loss.
- Treat hard mode as a discipline check
On harder settings, greed is more expensive. Delay forward pressure until your production can replace losses, then consider production disruption only after the base and scouting layer are stable.
Video evidence
Dust Front Demo Deep Dive - Everything This New RTS Gets Right
Shows that the demo is getting creator analysis, not only trailer reposts.
Dust Front RTS - This is visually stunning and amazing to play
General review signal and useful language for player expectations.
Dust Front RTS - Demo Part 1 Walkthrough Gameplay
Supports a demo walkthrough page and opening-sequence notes.
Scene media references
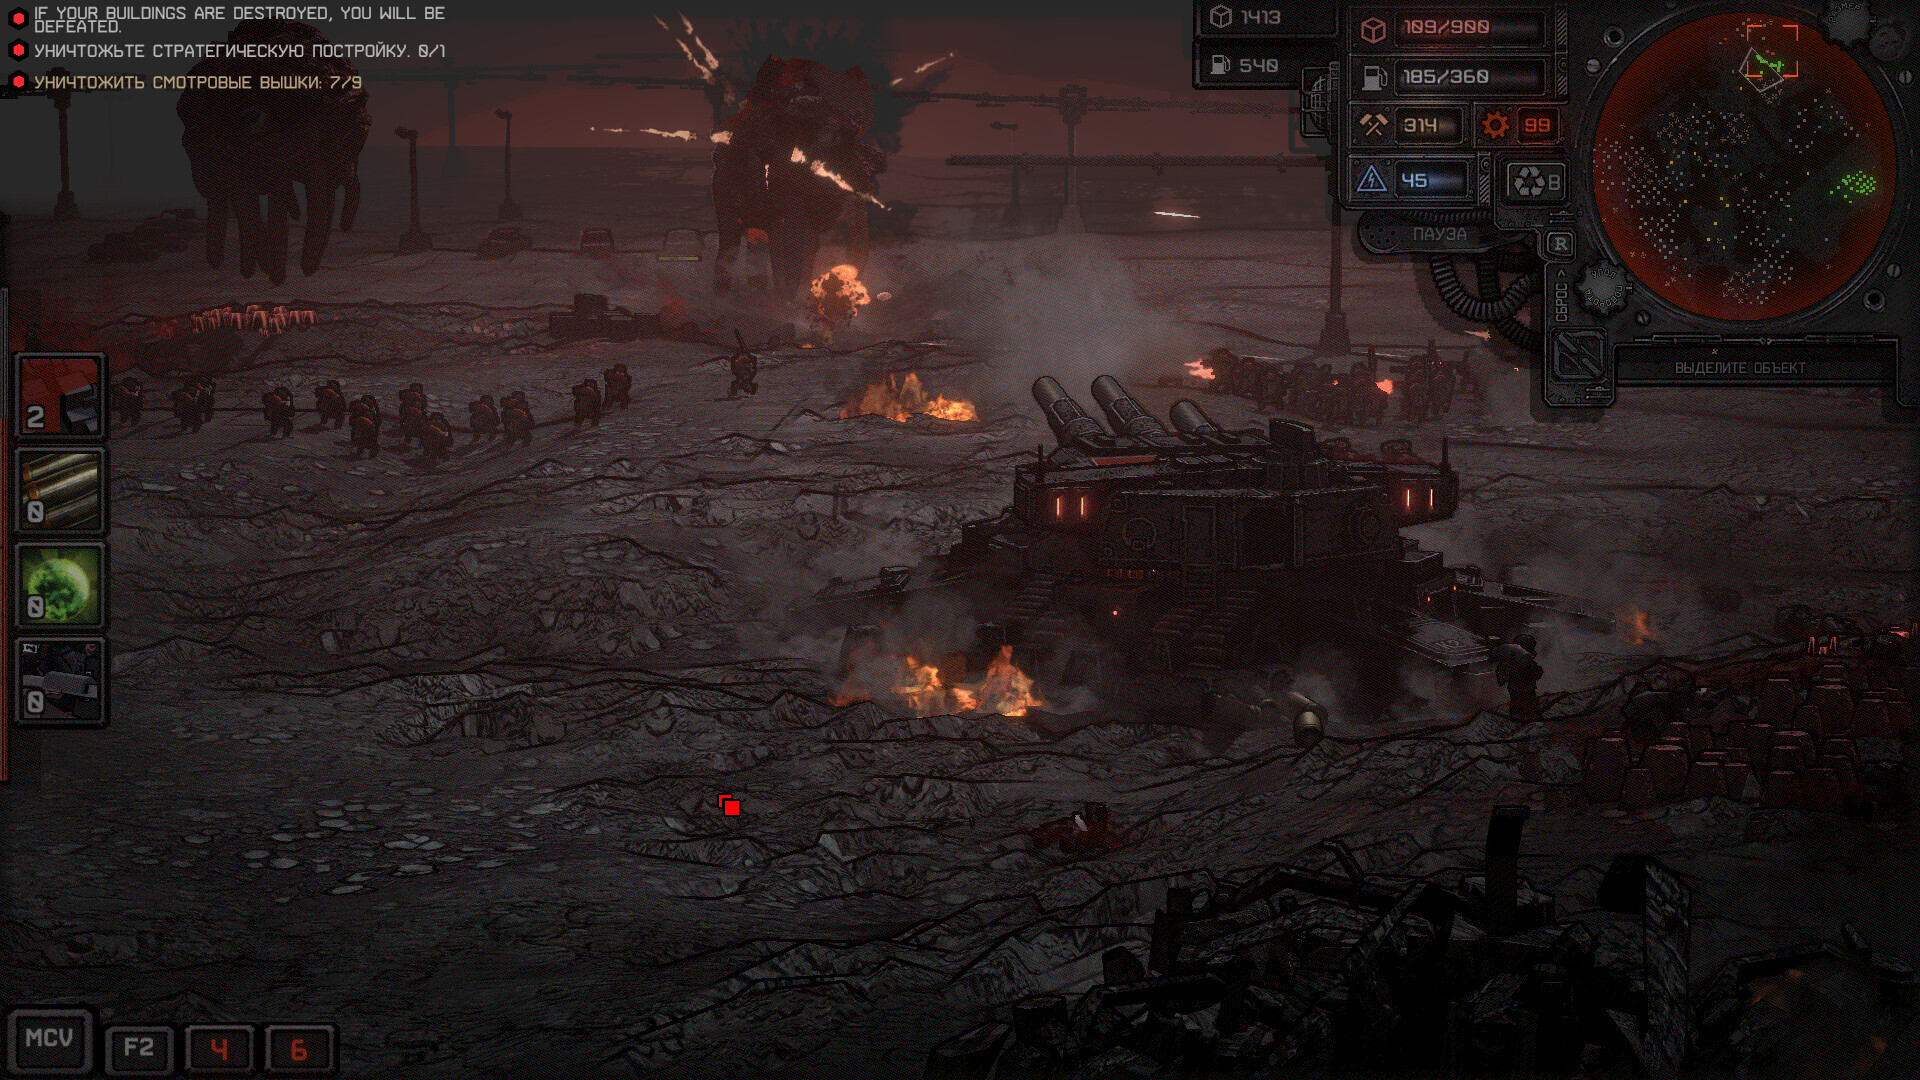

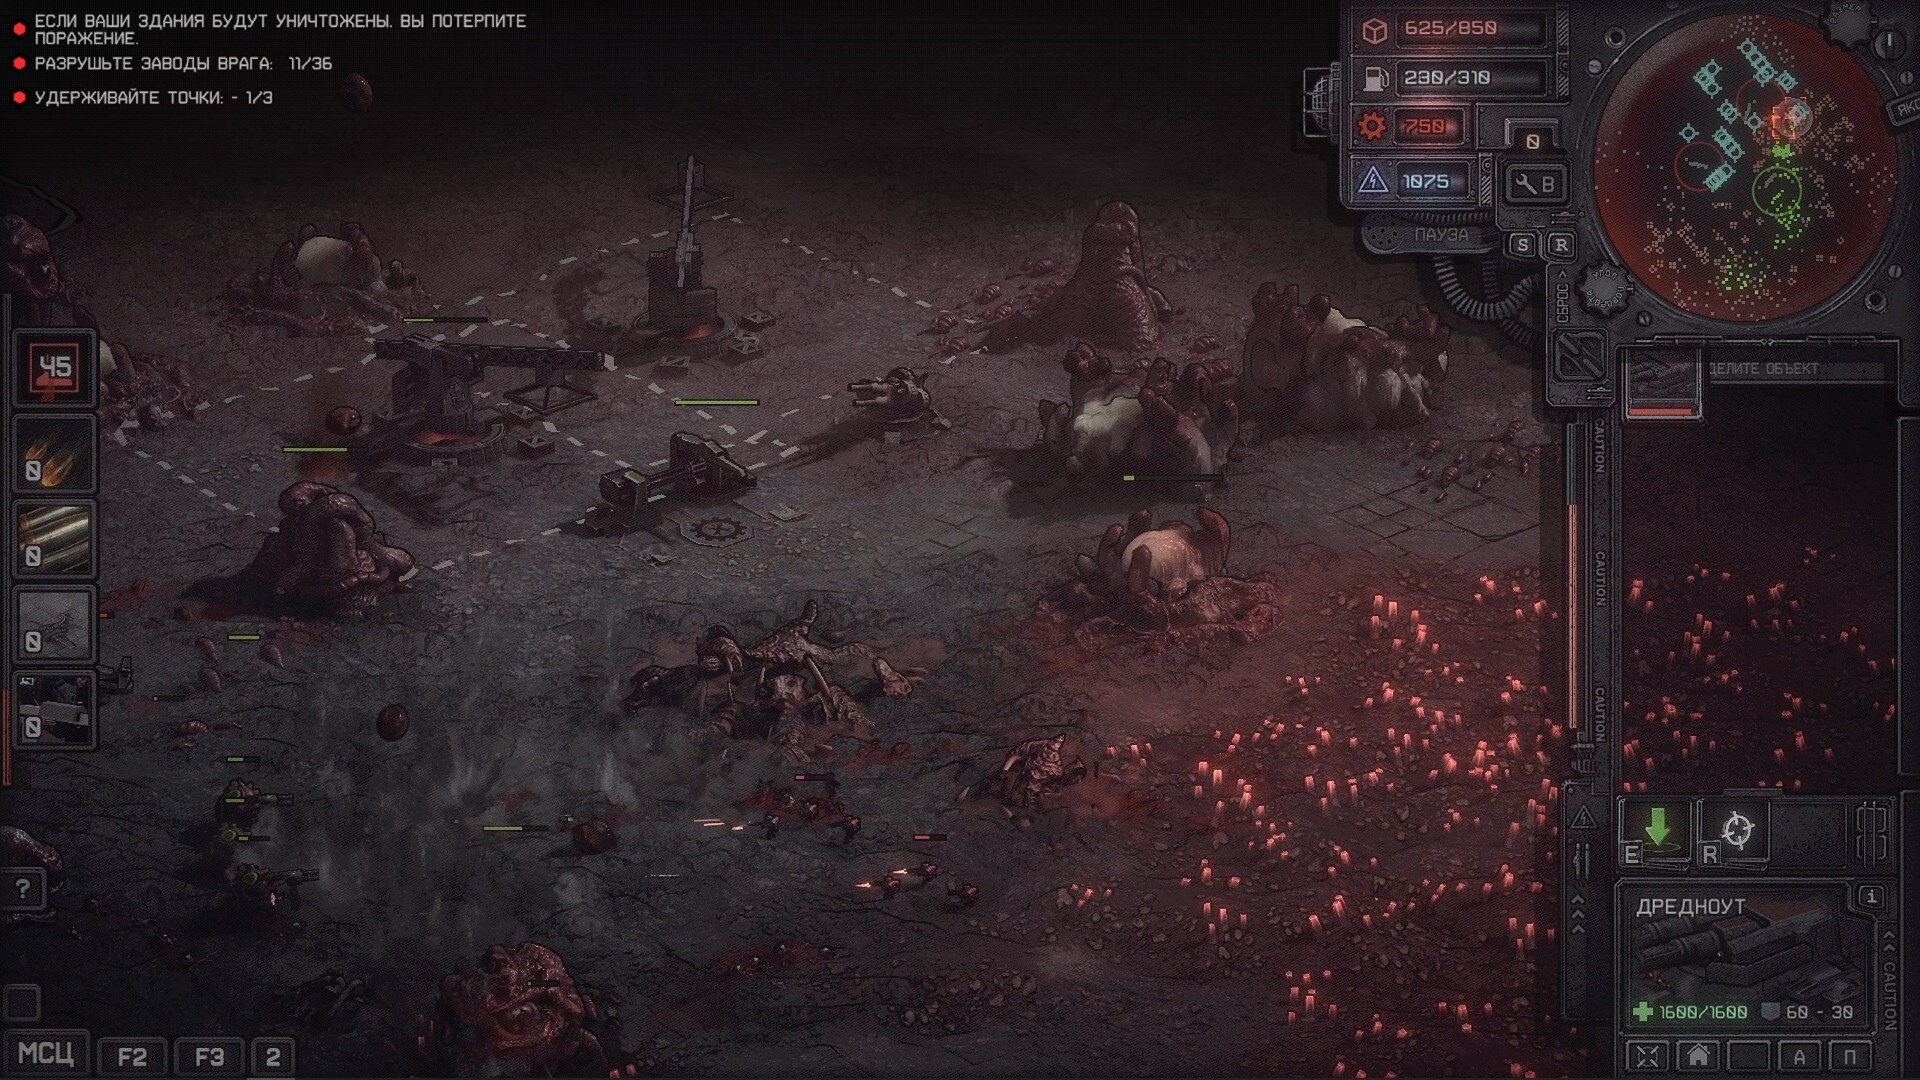
Quick reference
Beginner route
| Phase | Goal | Common mistake |
|---|---|---|
| Opening | Connected base and safe deployment. | Choosing a zone with no support path. |
| Early economy | Power, storage, production, and repair access. | Building units without the economy to replace them. |
| First fights | Vision, screens, and controlled trades. | Sending expensive units forward blind. |
| Mid demo | Push only after production is steady. | Overextending into faction pressure. |
Hard mode adjustment table
| Pressure point | Normal demo habit | Hard-mode adjustment |
|---|---|---|
| Opening | Start wide and react later. | Start compact so production, repair, and defense reinforce each other. |
| Scouting | Check the enemy after the first fight. | Scout before committing expensive units. |
| Production | Queue what feels useful. | Queue around replacement flow and the next objective. |
| Pushing | Attack after the first local win. | Attack after vision, repairs, reserves, and fallback are ready. |
| Enemy production | Ignore it until the late run. | Disrupt it only after your own base is stable enough to survive the counter. |
FAQ
What should new players learn first?
Deployment and economy stability. The demo is easier when your base can support the frontline before the enemy pressure scales.
Is this a final wiki?
No. It is a launch guide hub based on public demo evidence. Exact values should be verified in-game before expansion.
What are the most common run killers?
Economy collapse, blind fighting, unsupported pushes, weak repair access, and attacking enemy production before your own base can survive the response.
Should I copy a hard-mode video route exactly?
Use videos as evidence for the workflow, not as permanent build-order law. Difficulty, patches, and map conditions can change the best exact timing.
Sources
- Dust Front RTS full Steam page Official full-game facts.
- Dust Front RTS demo Steam page Official demo release, mechanics, and media.
- SteamDB demo charts Player and review signal.
- Steam Community hub Developer/community posts and player-question signals.
- YouTube recent Dust Front RTS guide search Manual recent-video validation.