Dust Front RTS Hard Mode Strategy
A Dust Front RTS hard-mode strategy guide for safer openings, economy discipline, scouting, production disruption, and max-difficulty adjustments.
Hard mode and max-difficulty video results are useful because they reveal which beginner habits fail first. This page turns those signals into a conservative checklist.
Exact timings should stay provisional until manually checked. The current value is the framework: what to stabilize, when to delay, and how to decide whether a push is actually ready.
Step-by-step guide
- Start compact enough to support the front
A hard-mode opening should reduce support distance. Production, storage, repairs, and the first defensive line need to reinforce each other quickly.
- Treat scouting as damage prevention
Scouting is not optional information. It keeps expensive units from discovering pressure the hard way and lets you prepare the right defense before losses compound.
- Build around replacement flow
Queue units and structures around what you can replace after the next fight. A large army that cannot be rebuilt is a one-time resource, not a strategy.
- Delay greed until the frontline is readable
Harder settings punish extra angles, exposed economy, and unsupported expansions. Take expansion or production-disruption goals only when you can read the counterpressure.
- Use a push-ready checklist
Before pushing, confirm vision, reserves, repair path, storage, fallback, and one clear objective. If any part is missing, hold and stabilize.
Video evidence
Dust Front Demo Deep Dive - Everything This New RTS Gets Right
Shows that the demo is getting creator analysis, not only trailer reposts.
Dust Front RTS - This is visually stunning and amazing to play
General review signal and useful language for player expectations.
Dust Front RTS - Demo Part 1 Walkthrough Gameplay
Supports a demo walkthrough page and opening-sequence notes.
Scene media references
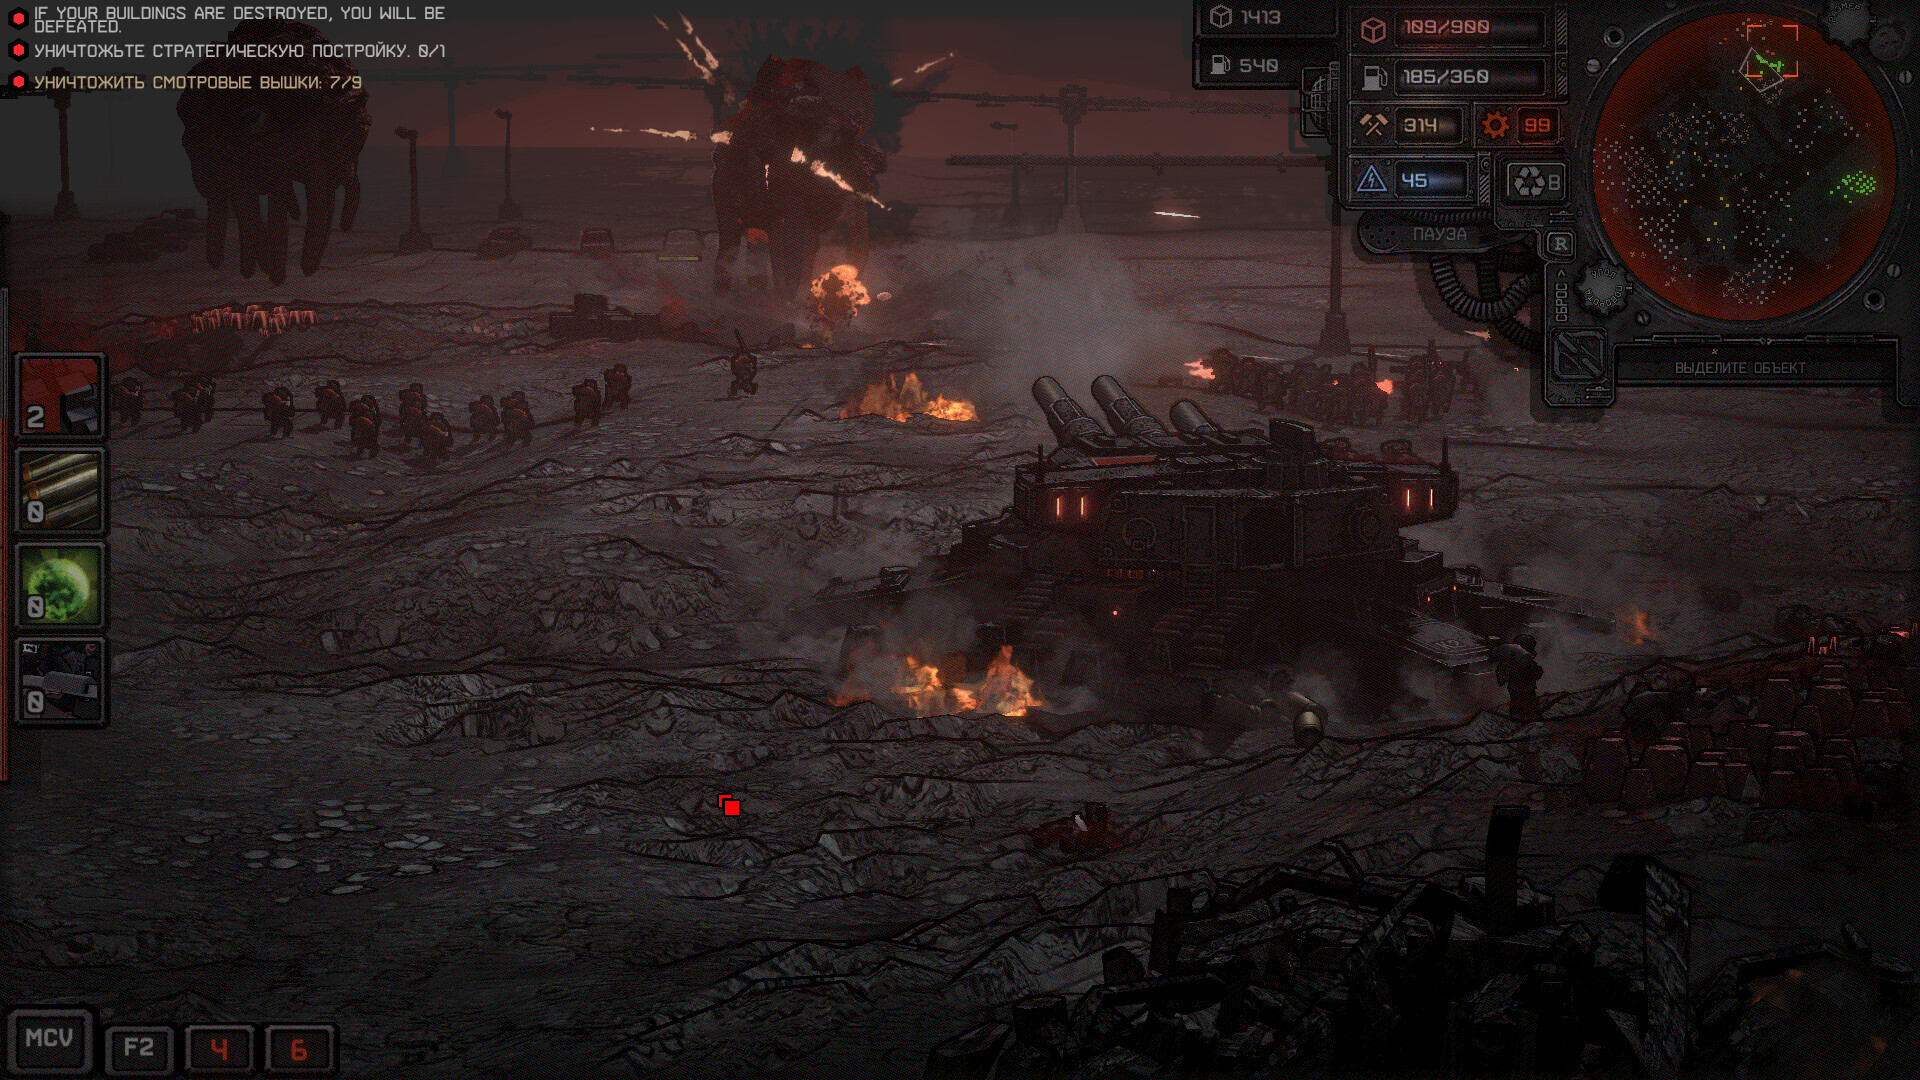

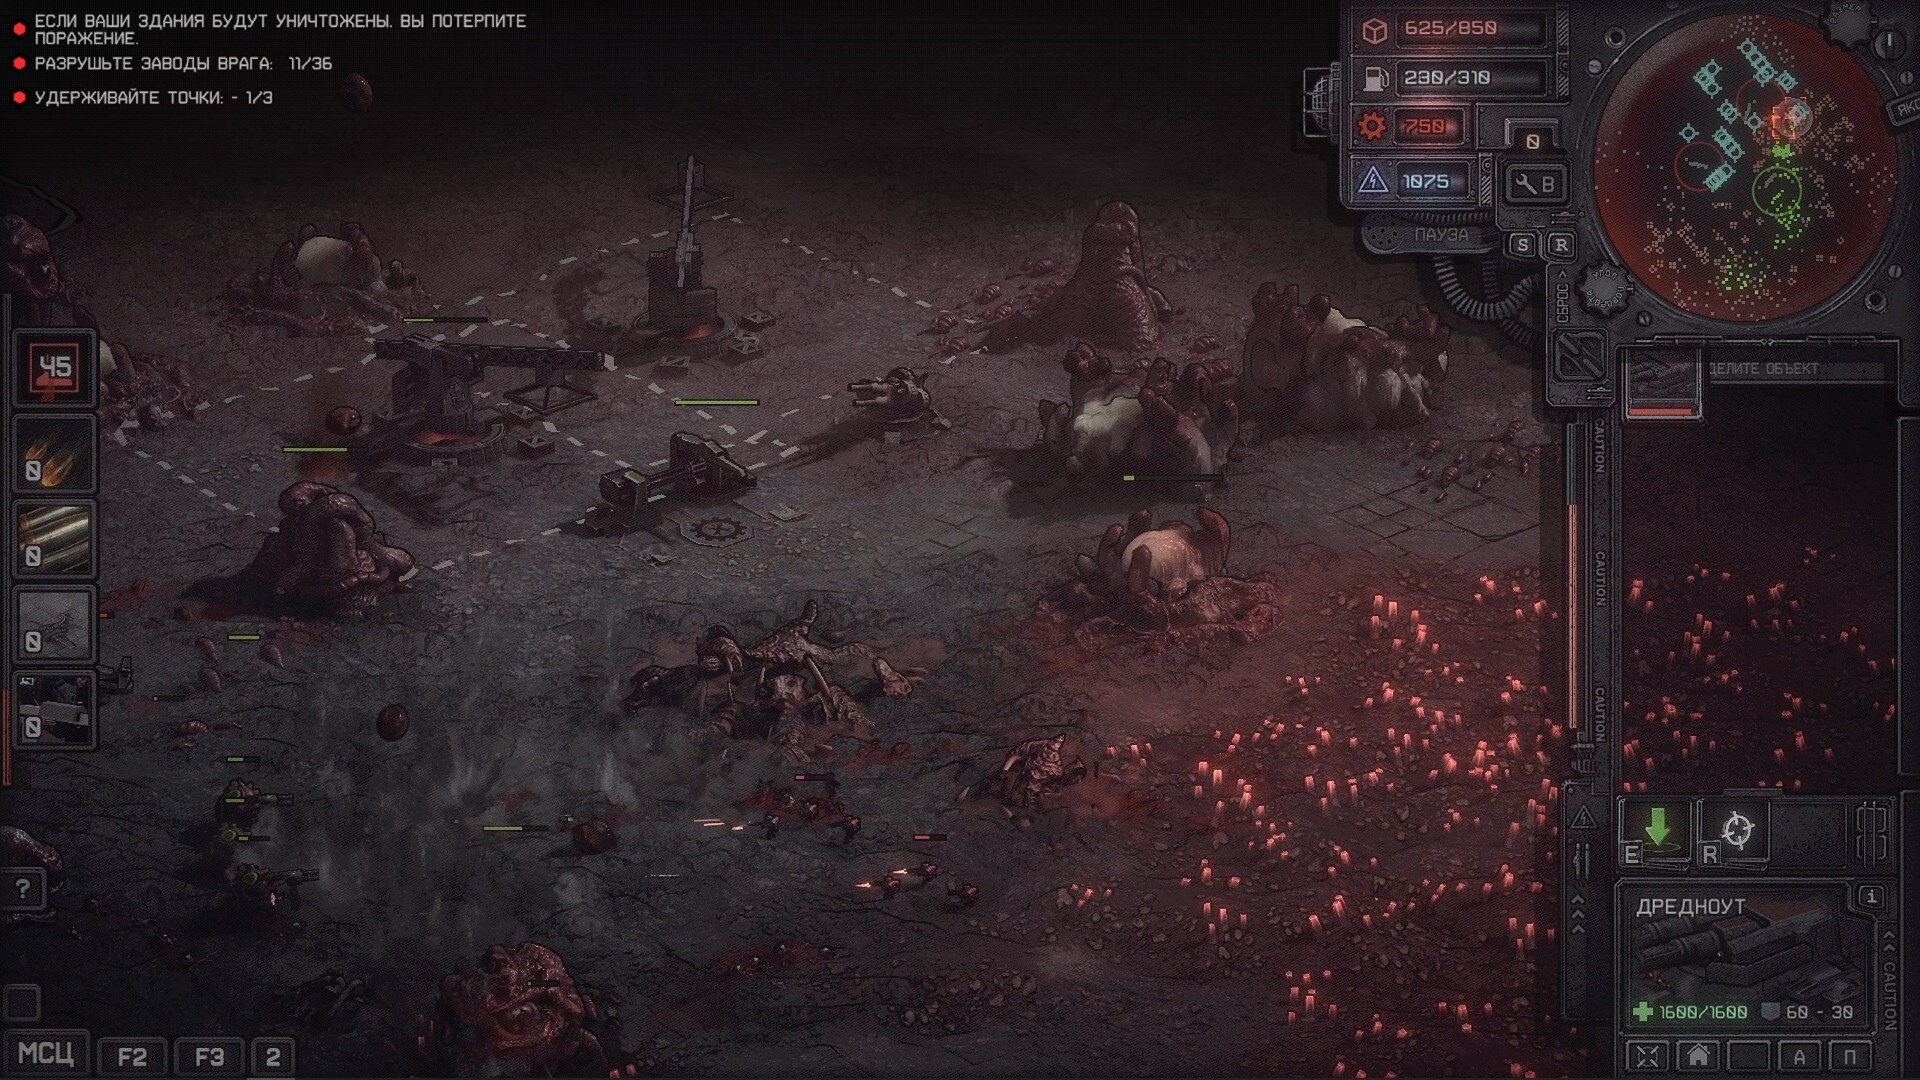
Quick reference
Hard mode readiness check
| Area | Ready signal | Hold if |
|---|---|---|
| Base shape | Production, storage, and repairs connect to the first front. | The first fight happens far from support. |
| Vision | Enemy pressure lane is known before contact. | You are reacting only after losses. |
| Economy | Power and storage can support replacement production. | Factories stall during fights. |
| Defense | There is a fallback and repair path. | The entire defense is one brittle line. |
| Push objective | The target is specific: production, lane control, or pressure relief. | The push is just a reaction to a local win. |
Max difficulty adjustments
| Habit | Why it fails harder | Adjustment |
|---|---|---|
| Greedy expansion | Extra angles stretch support distance. | Expand only after front and economy are stable. |
| Blind first push | Losses compound faster. | Scout, mark the pressure lane, then push with reserves. |
| Late repair planning | Damage becomes permanent pressure. | Place repair access before the first major fight. |
| No post-run note | You repeat the same mistake. | Record one failure category after every attempt. |
FAQ
Can one hard-mode opening beat every map?
Not safely from public evidence alone. Use the compact-opening and push-ready checks, then adjust after direct demo verification.
When should I attack enemy production?
Only after your own production and repair loop can survive the response. Production disruption is a planned objective, not a panic raid.
What should be verified next?
Exact early build timing, enemy pressure patterns, and how difficulty settings change replacement-flow requirements.
Sources
- Dust Front RTS full Steam page Official full-game facts.
- Dust Front RTS demo Steam page Official demo release, mechanics, and media.
- SteamDB demo charts Player and review signal.
- Steam Community hub Developer/community posts and player-question signals.
- YouTube recent Dust Front RTS guide search Manual recent-video validation.